Isolators play a central role in aseptic production, protecting products and operators from cross-contamination. The article “How to clean an isolator to ensure sterile safety” guides the correct cleaning process to help maintain a sterile environment and comply with GMP and ISO standards.
- 1. What is an Isolator and Why Must It Be Cleaned Properly?
- 2. Common Sources of Contamination in Isolators
- 3. Standard Operating Procedure (SOP) for Isolator Cleaning
- 4. Cleaning Frequency and Evaluation Standards for Isolators
- 5. Suggestions for Improving Isolator Cleaning in Manufacturing
- 6. Frequently Asked Questions About Isolator Cleaning
- 7. Do You Need a GMP-Compliant Isolator Cleaning SOP?
1. What is an Isolator and Why Must It Be Cleaned Properly?
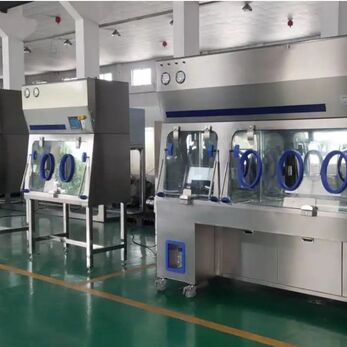
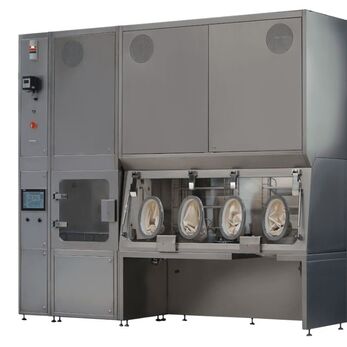
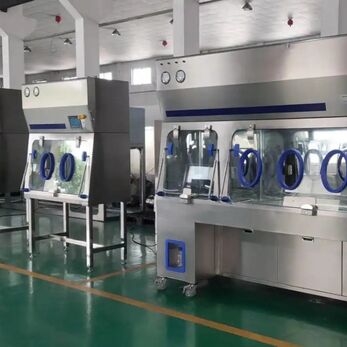
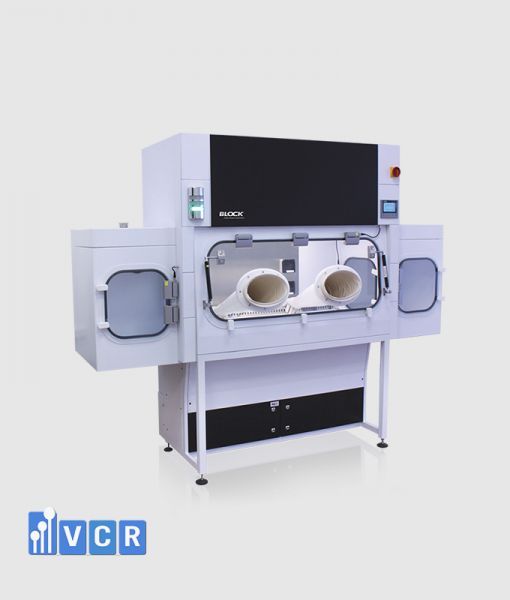
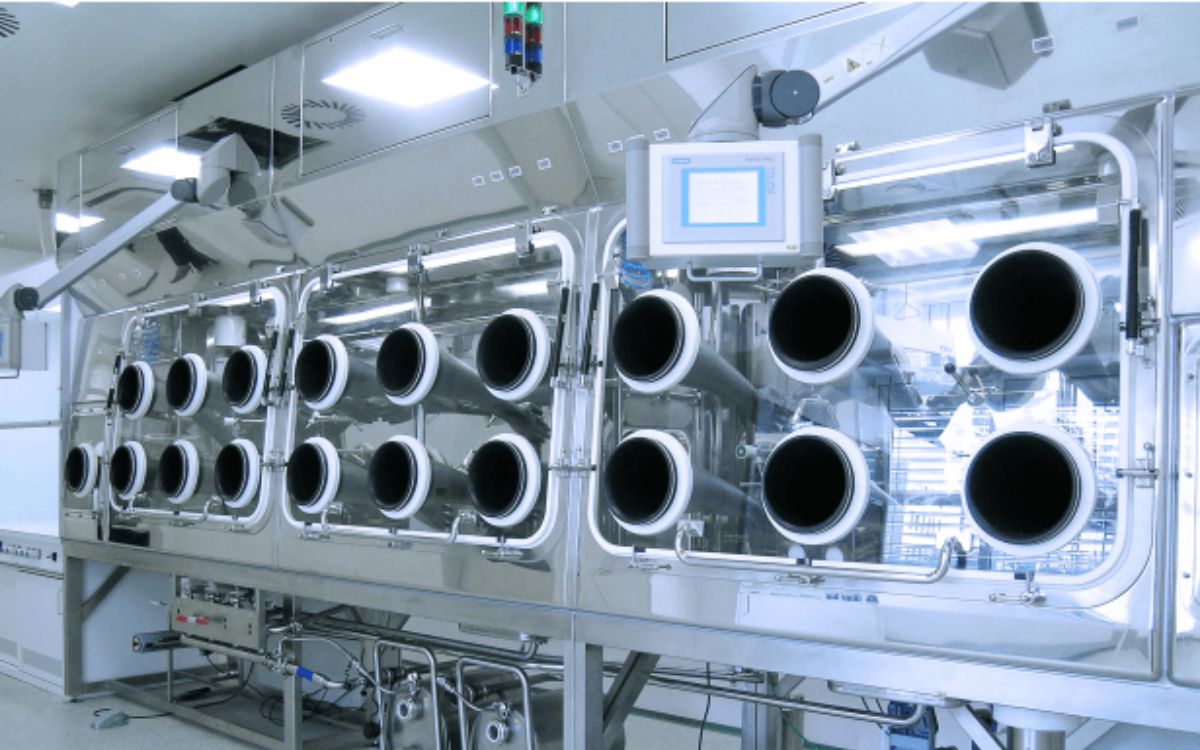
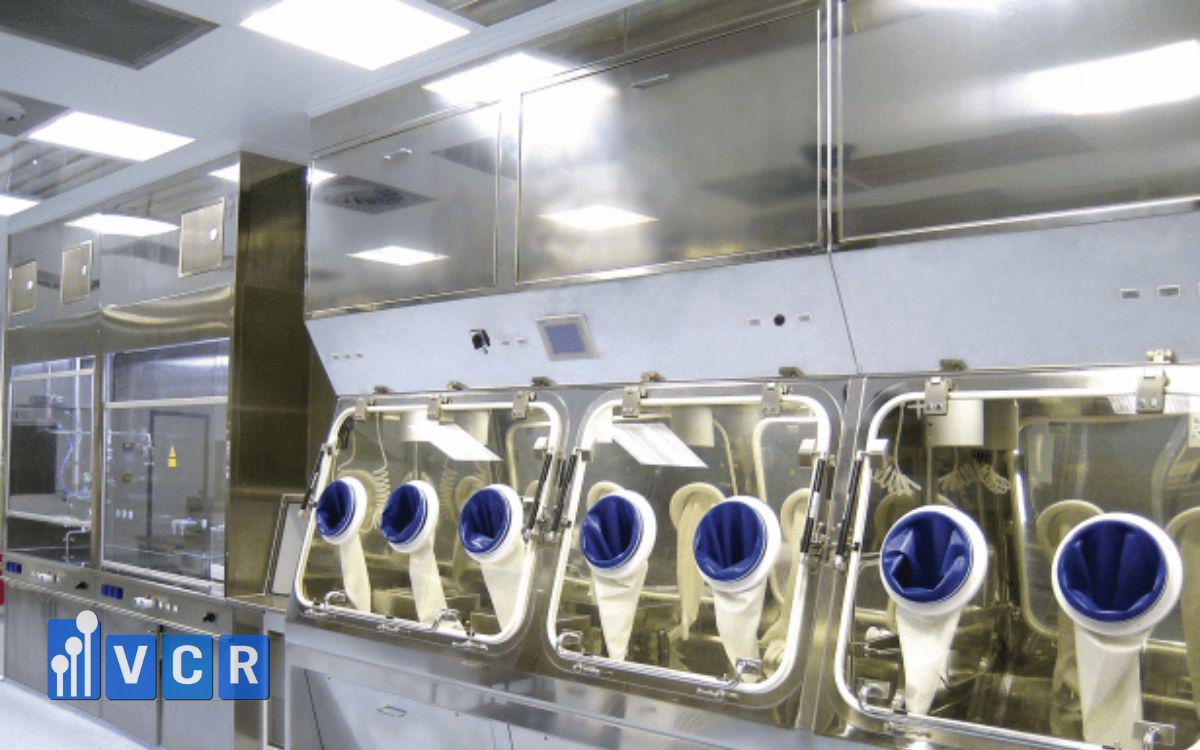
An isolator is a sealed chamber used in manufacturing and testing processes that require a strictly sterile environment-especially in the pharmaceutical, biotechnology, and medical sectors. The device operates by completely isolating the product from the operator through glove ports, transfer hatches, and a controlled pressure-air filtration system.
Core functions of an isolator in aseptic environments:
- Creates an independent sterile zone with high cleanliness (typically Grade A/ISO 5).
- Prevents any direct contact between personnel and product.
- Provides two-way protection: shielding the product from microbial contamination and the operator from hazardous substances.
Therefore, the isolator plays a central role in processes such as injectable drug manufacturing, biopharmaceutical production, and sterile medical device preparation, where even a minor cleaning failure can have severe consequences.
What happens if the isolator is not cleaned properly?
- Cross-contamination between production batches: residues of microorganisms, chemicals, or particulates from previous batches can compromise the purity of new products.
- Loss of aseptic control: bacteria, mold, or airborne particles may persist in hidden areas and spread during operation.
- Non-compliance with GMP/ISO standards: leading to failed validation, production downtime, and reputational damage.
Proper and consistent cleaning of isolators is not just a procedural requirement-it is a critical factor in maintaining product quality and ensuring the safety of the entire aseptic production line.
See more: Pharmaceutical Isolators: When is the highest level of protection needed?
2. Common Sources of Contamination in Isolators
Even though isolators are designed to provide a fully enclosed environment, improper or infrequent cleaning can lead to significant contamination risks. Below are common issues faced by pharmaceutical and biotechnology facilities:
- Residues of physical particles, chemicals, and microorganisms from previous batches
Powder residues, solvents, or microbial particulates may remain on surfaces, gloves, or equipment inside the isolator.
If not completely removed, these residues can cause cross-contamination, affecting product quality and stability-especially critical in injectable or biopharmaceutical manufacturing. - Hard-to-reach surfaces: gloves, joints, transfer hatches
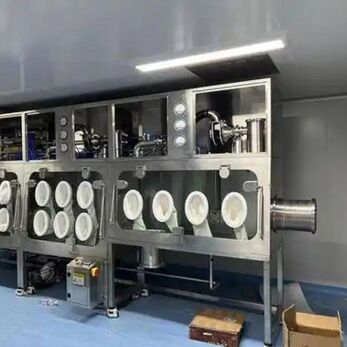
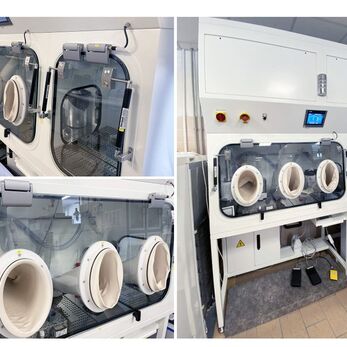
Areas such as glove ports, hinges, and transfer hatches often have complex geometries that trap dust and microorganisms.
These “blind spots” are easy to overlook during cleaning, allowing bacteria to survive in small crevices under favorable temperature and humidity conditions. - Uneven humidity and sterilization conditions
Internal surfaces are sterilized using steam, hydrogen peroxide (H₂O₂), or UV light depending on the process. However, uneven distribution or insufficient contact time can create “cold spots” where microbes are not fully eliminated.
High humidity or residual moisture after cleaning also provides an ideal environment for mold growth. - Human error during manual cleaning
Common mistakes include cleaning from dirty to clean areas, reusing contaminated wipes, or mixing incompatible chemicals.
Repetitive tasks and time pressure may lead to inconsistent SOP adherence, reducing the overall sterility assurance of the system.
Recognizing these risks is the first step toward establishing an effective and compliant isolator cleaning program.
3. Standard Operating Procedure (SOP) for Isolator Cleaning
To maintain sterility, each facility should establish a validated cleaning SOP tailored to its product type, isolator design, and regulatory requirements.
Below is a standard five-step procedure suitable for both EU-GMP and WHO-GMP environments.
Step 1: Preparation Before Cleaning
- Stop all isolator operations and set the system to standby mode.
- Release the internal air pressure or recirculation system to prevent the spread of cleaning agents.
- Wear full protective garments: sterile gown, mask, and double gloves.
- Verify the list of cleaning agents and tools: concentration, expiry date, proper labeling, and preparation records.
Objective: Ensure operator safety and chemical consistency.
Step 2: Mechanical Cleaning
- Use low-lint wipes to remove visible dust and debris from all accessible surfaces.
- Focus on:
- Glove ports (clean from the inside out)
- Corners, joints, hinges, and transfer doors
- Workbench and floor surfaces inside the isolator
- Follow the principle: clean from easily accessible areas to difficult-to-reach ones.
Step 3: Chemical Disinfection
- Apply approved disinfectants according to the facility’s SOP, such as:
- IPA 70% - for pharmaceutical and cosmetic environments
- H₂O₂ - for biotechnological and microbiological applications
- Peracetic acid - for high-sterility use cases
- Wipe in sequence:
- From clean to dirty areas
- From top to bottom to prevent recontamination
- Replace wipes after each section or cycle.
- Note: Avoid leaving liquid residue unless specified by the SOP.
Step 4: Surface Sterilization
- Perform surface decontamination using:
- Dry mist or vaporized H₂O₂ / chlorine dioxide, or
- UV light (if integrated in the isolator)
- Ensure sufficient contact time as per manufacturer recommendations (typically 5-15 minutes).
- Control temperature and humidity to prevent condensation or surface damage.
Objective: Completely eliminate any remaining microorganisms.
Step 5: Inspection and Verification
- Record all cleaning details in the cleaning logbook: date, time, responsible operator, and chemicals used.
- Conduct:
- Visual inspection using bright light to detect residual dust or stains
- Surface microbiological testing (swab or contact plate) periodically or when required by QA
- Attach a “CLEANED” label with verification signature and validity period.
This final step ensures traceability and compliance during GMP audits and guarantees that the isolator is safe for the next production cycle.
See more: Isolators: Enhancing Aseptic Processing in the Pharmaceutical Industry
4. Cleaning Frequency and Evaluation Standards for Isolators
Cleaning an isolator is not only about following the correct procedure-it must also be conducted at appropriate frequencies and under defined quality control mechanisms. Depending on the product type, contamination risk level, and internal GMP requirements, each facility must establish a corresponding cleaning schedule.
Recommended Isolator Cleaning Frequency Table
|
Activity Type |
Recommended Frequency |
Notes |
|
Surface cleaning |
Every work shift |
Mandatory for sterile production lines such as injectables and biologics |
|
Chemical disinfection |
End of each batch |
Required for every batch and especially when switching drug types |
|
Full sterilization |
Weekly or scheduled intervals |
Should be combined with surface biocontamination checks, ATP testing, or environmental sampling |
Standards for Evaluating Cleaning Effectiveness
To ensure consistency and traceability, the isolator cleaning SOP should include quantifiable evaluation criteria such as:
- Visual inspection: no visible dust, stains, or liquid residues
- Surface microbiological count: within ISO 14644-1 limits (typically <1 CFU/plate in Grade A areas)
- ATP test (if applicable): luminescence levels <100 RLU (as per internal SOP)
- Cleaning logbook: must include operator name, start and end times, disinfectants used
Maintaining a clear cleaning frequency and evaluation standard not only helps prevent contamination but also demonstrates GMP compliance during audits.
See more: Key Considerations When Selecting a Pharmaceutical Isolator
5. Suggestions for Improving Isolator Cleaning in Manufacturing
Even with SOPs in place, continuous improvement is essential to enhance sterility assurance, reduce operational risk, and optimize labor efficiency. Below are proven strategies implemented by pharmaceutical and biotech plants:
1. Implement CIP/SIP (Clean/Sterilize-in-Place) Technology
CIP and SIP allow automated internal cleaning and sterilization without dismantling or manual intervention, helping to:
- Reduce downtime between production batches
- Ensure consistent and repeatable cleaning results
- Minimize human error during cleaning
2. Use Endoscopic Cameras to Inspect Hidden Areas
Challenging zones like:
- Underside of connectors
- Glove ports
- Material transfer chambers
are hard to inspect visually.
Installing internal cameras or conducting regular borescope inspections helps detect early signs of residue, staining, or microbial growth before they become contamination sources.
3. Integrate Scheduled Cleaning Alerts
Modern isolators support:
- Countdown timers for cleaning intervals
- Audible or visual alerts when cleaning is due
This ensures SOP compliance even during busy production cycles and aids QA teams in cleaning traceability.
4. Conduct Regular SOP-Based Staff Training
Human performance is still a key variable. Therefore:
- Train staff every 6-12 months
- Update SOPs when switching chemicals or equipment
- Include simulations of real-world mistakes (e.g., incorrect wiping sequence, missed log entries)
- Use visual audits or ATP tests to assess cleaning skills
See more: Cleanroom Isolators: Enhancing Aseptic Processing
6. Frequently Asked Questions About Isolator Cleaning
Can 90% alcohol be used to clean isolators?
No. Although 90% alcohol evaporates quickly, IPA 70% (isopropyl alcohol) is more effective for cleanroom use. It provides superior microbial kill by maintaining longer contact time and better cell membrane penetration.
How should glove ports be cleaned without damaging them?
Use soft, low-lint wipes to clean gloves gently, following a spiral motion from the wrist to the fingertips. Avoid harsh solvents or repeated rubbing in the same spot, as this can cause abrasion or tearing-compromising the integrity of the sterile barrier.
Is it mandatory to log every cleaning session?
Yes. Under GMP standards, cleaning log documentation is mandatory to:
- Confirm that the isolator has been properly sanitized
- Trace responsibility in the event of contamination
- Provide evidence for internal reviews or regulatory audits
Logs should include: date and time, operator name, disinfectant used, cleaned areas, and QA verification (if required).
7. Do You Need a GMP-Compliant Isolator Cleaning SOP?
Establishing and maintaining a validated cleaning SOP for isolators directly affects product quality and GMP audit readiness.
Download a ready-to-use SOP template and isolator cleaning checklist standardized to EU-GMP-suitable for pharmaceutical, cosmetic, and laboratory facilities.
Or consult with the VCR technical team to:
- Improve your current cleaning protocols
- Recommend suitable disinfectants for specific isolator types
- Integrate automated sterilization solutions (CIP/SIP)
Don't let a minor cleaning error interrupt your entire aseptic line.
Let VCR help you build a sterile, sustainable, and GMP-ready environment.
Hotline: 090.123.9008
Email: [email protected]
Website: https://isolator.vn/
Diep VCR